
Problems with Google Gemini Pro AI in developing WordPress features
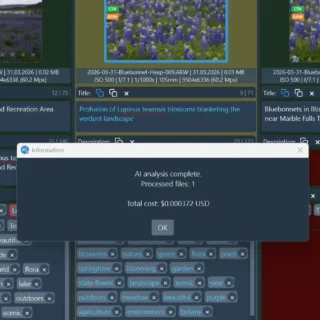
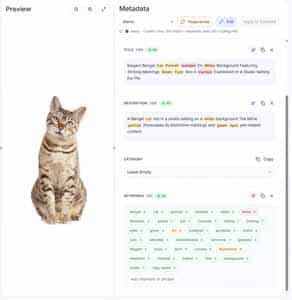
Can AI build a complex photography portfolio for you? I spent the last week trying to find out. While the AI was a superstar at metadata, it was a hallucinating mess when it came to WordPress plugins like WP Grid Builder and NextGen Pro.
Today, I’m taking a quick diversion from stock photography to share the technical “post-mortem” of my B2B portal build. I’m breaking down the 24 errors the AI made, the plugins I eventually settled on (Filebird, MLA, and more), and why you need to be much more demanding of your AI “consultant” than you think.