
In a previous post, I wrote an article about green screen techniques and how some of the features in Lightroom can make it easier to extract a subject from its background. That technique aimed to give you a plain background behind the subject and was also able to alter the brightness of the background to help merge in with the new image.
I came across an interesting extension of that technique that took me a while to get my head round, but I think it can make quite a difference to difficult edges – eg hair! This added step makes use of the blending modes to help blend the subject into its new background.
So, a quick recap – the previous article involved taking the subject against a plain green background:
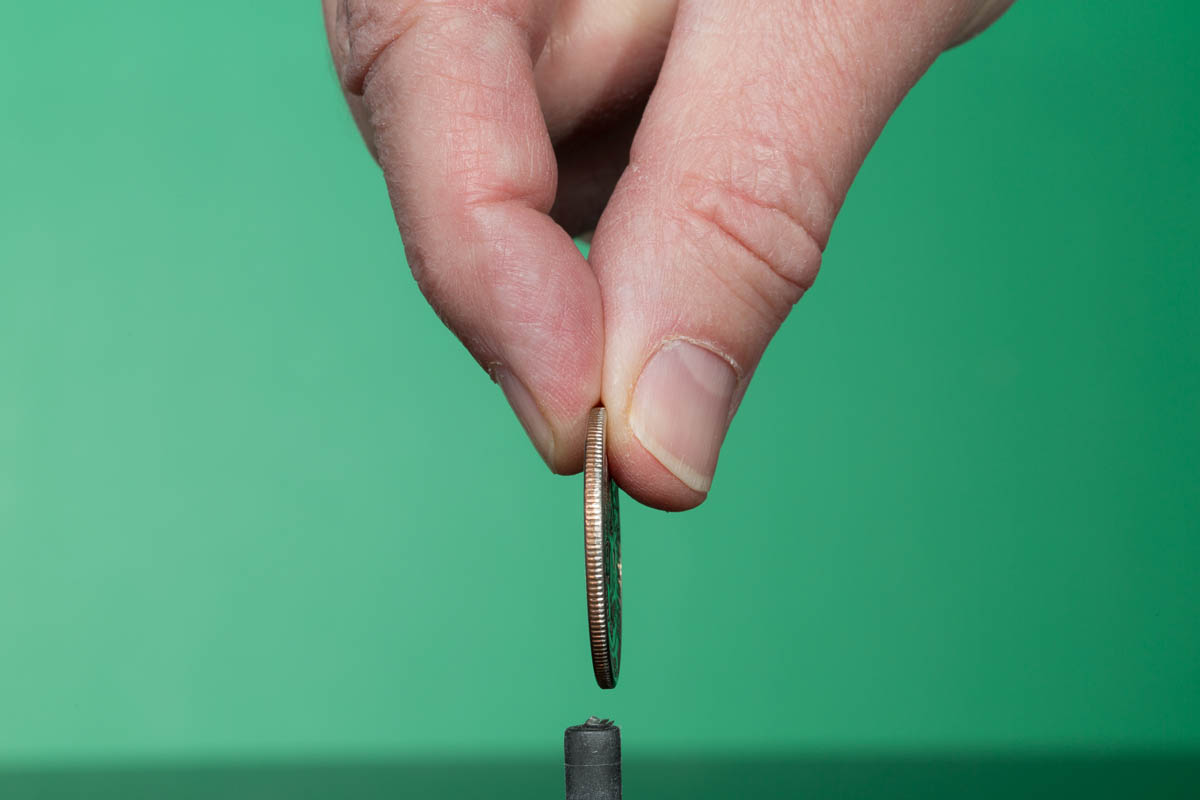
Object against green background
I followed the steps before to drop the green down to a grey background using the HSL controls in Lightroom and opened in Photoshop. I then used the normal extraction tools – Quick Selection then Refine Edge – to extract the fingers and coins. However, I did this on a second copy of the image, so that I had one layer with a mask, and one with the original grey background. As you can image, the extraction is never perfect, and small hairs on the back of the hand, for instance, are missing in the masked layer, but still visible against the grey background.
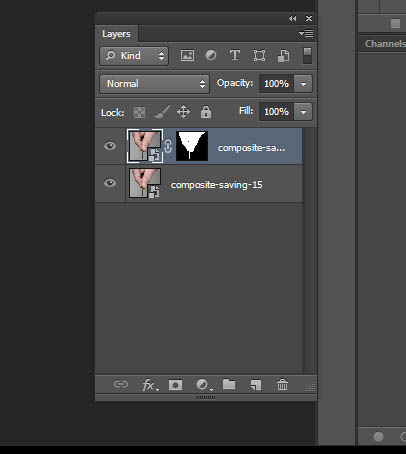
Layers in Photoshop
The trick comes when you drag this pair of layers into the new document containing the background. When you do that, the immediate effect is that the fingers and grey background totally hide the image that is supposed to be visible behind the fingers. So, select the lower layer and change the blending mode in the box above the layers to “Overlay”. Overlay is a special blending mode where pure 50% grey has no impact on the result. Anything darker than 50% grey makes the background image a bit darker, anything lighter, makes it a bit lighter, but, in essence, it makes that layer invisible apart from those effects. Now, why does that make a difference? The top masked layer is still visible of course, but any remaining bits of the image – fine hairs for instance – are a different shade to the grey background and so they make a slight difference to the brightness of the background. A black hair would make the background darker just where that hair existed, a blonde hair would make it lighter. This means that you get the main subject clearly visible and then small, but noticeable changes to the background around the edges where the extraction was not perfect.
I hope this is reasonably clear – the best thing to do is to try it, and see if it makes a difference for you!
By the way, if you wanted to know why I am extracting some fingers and a coin – it is, of course, for another stock photo, this time illustrating the concept of saving up for a vacation in the sun!

Saving for a vacation