
Working with Society6
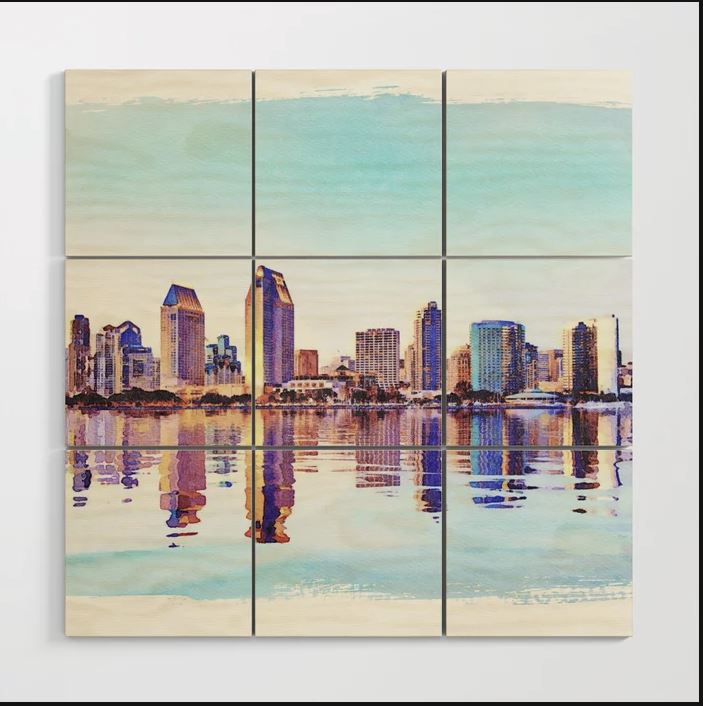
I checked my account at Society6 this morning and found another sale. This time a woodblock print of a digital watercolor image of the San Diego skyline. Net profit – $18. Not the high margins that I have set on Fine Art America, but when I think about it, I haven’t sold a print there since January!
That reminded me that a number of you have asked if I will write more about my approach to uploading to this site, and so as each sale prompts me to upload some more images, I decided to use that as my excuse to document my process.
I decided to stick with skylines as most of my sales to date have been that type of image and so my next upload is an image of New York City taken a few years back from the New Jersey shore and enhanced with a digital water reflection using the Flood plugin. The image was originally 7466 x 5499 pixels (I think it was a stitched panorama and then I altered the vertical dimension with the artificial water reflection. Because there are a limited number of ratios that are acceptable for metal prints on Society6 ( 1×1, 2×1, 2×3, 3×4, 4×5, and 5×7 ), I resized it slightly to fit the 5 x 7 format and exported from Lightroom with a standard amount of sharpening for a glossy print.
Then I upload my image to create a new Art post. I added the normal description, added some tags that both describe the scene and also are more conceptual in nature, such as “dramatic”, “colorful” etc. and then added a backstory explaining why I changed out the water. Then on to the selection of products. I use this pricing table:
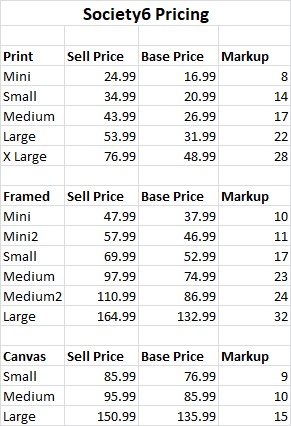
I usually have a copy of this open on my other monitor and all I need do is to enter the markup numbers against the print and framed prices. The canvas price is left alone. I turn the metal print option on, as it is sized to fit their requirements. I then go through each product in turn and decide if it looks OK on that product. Sometimes I move the image around a bit for square format objects. This particular format fits quite a lot of the products especially if I reposition the image a little to make the Freedom tower more dominant. I tend to ignore the clothing options as this sort of photo looks a bit stupid on a T-shirt – you really need to upload PNGs with transparency to make a nice clothing line, I think. Once you have got to the end of the list of products, you can publish the products on your store front and also add it to a collection if you are creating those. I wrote about collections in my previous post on this site.
The final product page on Society6 is here. Now on to the next image!

Really pleased with all your success – best wishes for a record-breaking year.
Thanks for sharing.
Thanks, Sue!
Thanks very much for info regarding Society6. Your digital watercolor images are great. How did you make them? I own all the Topaz plugins (and Studio) but I suppose you must be using something else?
I use a simple plugin from a company called Jixipix. I wrote about it here: https://www.backyardsilver.com/2018/12/digital-art-shanghai-skyline/
Steve
Thanks!